I love making things that are pretty and functional. I don’t see what they can’t be both. And by making it at home, two things happen 1) I get to zone out and relax for a little while and 2) for the same amount of money it would be to buy one item, I can make multiples so I am getting a bigger bang for my money. I call that a win win.
My oldest is entering the teenage years now, and she has been using a bed that I had when I was 15 years old. So, needless to say, it is time for an upgrade. This year instead of giving her a huge party with gifts, we are updating her room. New bed, new decor, new everything and all homemade.
I think that when you take your time on making things, you are giving more love then just buying off a shelf. And you have something completely original that no one else has. To me that is great. Try teaching a teen to be different is like talking to a brick wall sometimes.
The materials you see below will be transformed into 3 picture organizers and a name plate for the door.
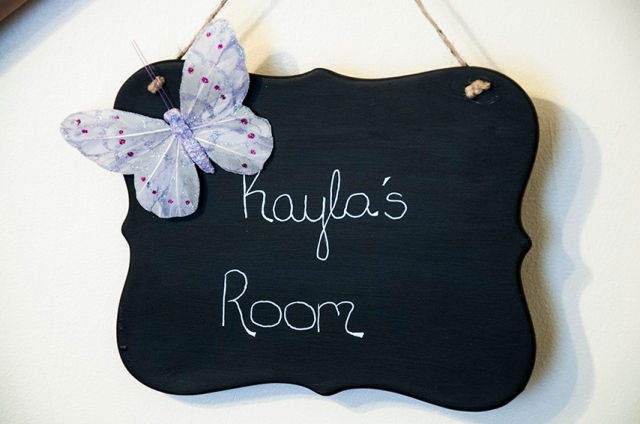
The first project here is the door hanger. This was so simple to make and a steal for $7 total. Now granted, I did have the paint at home already, but I think most people have extra paint lying around their house that they would like to use. You don’t have to use the same colors I used, use the ones that you like.
Door Hanger
Materials:
- 1 sponge paint brush
- paint in any color, I used left over chalkboard paint
- 1 -2 fabric butterflies, I used one
- paint pen in any color
- 1 door hanger
- hot glue gun
Directions:
- Before you begin painting, make sure you stir the paint really well. Apply the paint to both sides of the board. You may need a second coat depending on the color and how light your apply the first coat.
- Once paint is dried use a pencil to mark out what you want the sign to say.
- Test the paint pen before using, just in case it is clogged at the tip. Trace your writing, let dry.
- Place the butterfly where you want it before glueing, you only have 30 seconds after the glue is applied to place the butterfly. Using the glue gun apply a small amount to the back of the butterfly and place where you want it to go.
Picture Hanger
Materials:
- fabric
- ribbon
- thumb tacks
- hot glue
- quilt batting
- nail gun
- cork board or canvas board, various sizes
Directions:
- Place batting on work space. Place canvas board on top. Trim enough backing to cover the entire board plus to cover the sides. Do the same thing with the fabric.
- Layer the three things in order: fabric on the bottom, batting in the middle, and canvas on top. Using the staple gun pull the fabric over the edges and secure to board. Do this until all the fabric and batting is stapled to board.
- Starting at the back on the board staple one end of the ribbon. Take the ribbon, go to the other corner across in a diagonal and secure with another staple. To make the rest of the angles go one side to the opposite side. Make sure to keep the ribbon straight when going from one side to the other. Repeat steps until the whole board has a criss-cross pattern.
- Take one tack and place it at each intersection of ribbon on the board. Once all the intersections have a tack in them, flip the board over and place a small amount of hot over each point. Doing this helps keep the pins in place and protects your walls and fingers from the sharp edges.
- Once you have decided if you want to hang it horizontally or vertically that is where you would place your frame hooks. And your done.


